|
I had two class meeting days left with our newcomers, and I wanted to do something productive. As an English as a Second Language (ESL) teacher, when I think of rich lessons, I think of activities that will make my students think critically, move around, use all language domains (speaking, listening, reading, and writing), and learn!
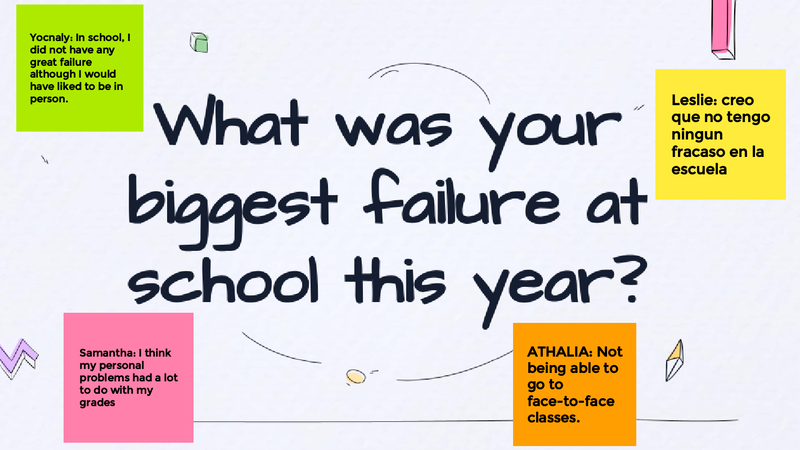
At first, I thought about showing movie clips about mystery or suspense movies. I could have had them identify story elements like characters, settings, problems, solutions, and describing the plot - which is what we did using text. But, I didn't want my newcomers to get the idea that I wanted them to watch movies as we end our school year. I also didn't want my colleges to see my newcomers watching movies instead of doing productive work. So, what better than End-of-School Year reflection questions?!? Most of my students were face-to-face, but I had four student who were learning virtually. Hybrid teaching is challenging when you are trying to have an interactive and engaging lesson. But, technology comes to the rescue in times like this! I've taught my newcomers how to use google slides, Jamboard, and how to navigate our course Canvas page.
For the most part, I agree when people say - "don't reinvent the wheel..." - Not reinventing the wheel has saved me so much time. I've learned a lot from other educators. However, when it comes to working with newcomers, you can't just use the wheels you find -- somehow, you must reinvent it to make it fit with the group of students you're teaching. You know - personalizing your lesson for a better outcome.
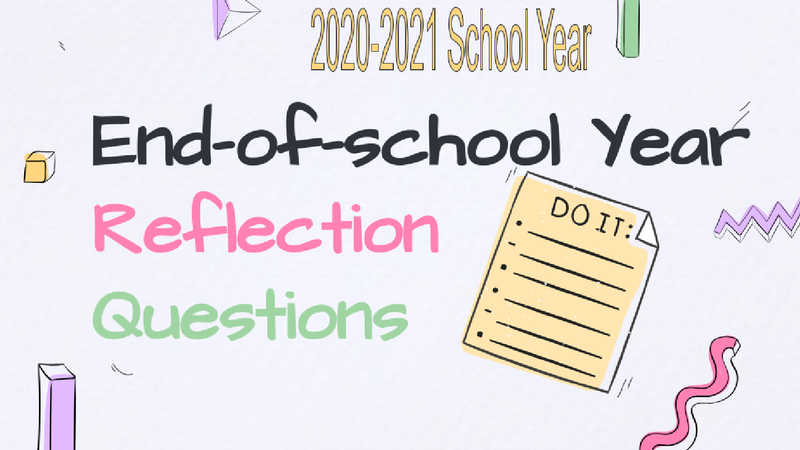
So, if I wanted my students to answers great end-of-year reflection questions, I quickly began searching for what other educators have created. These were the two web pages I found useful to do what I needed.
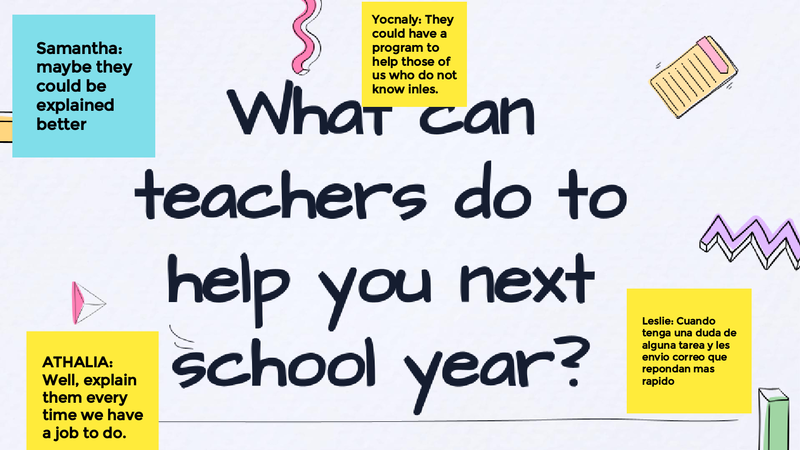
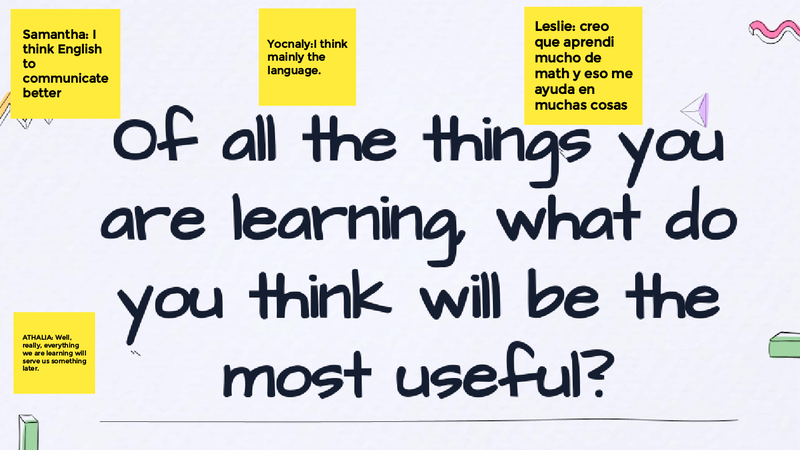
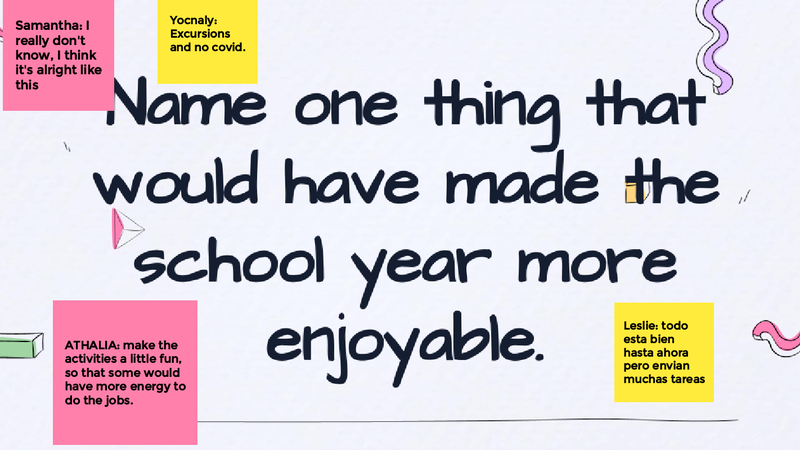
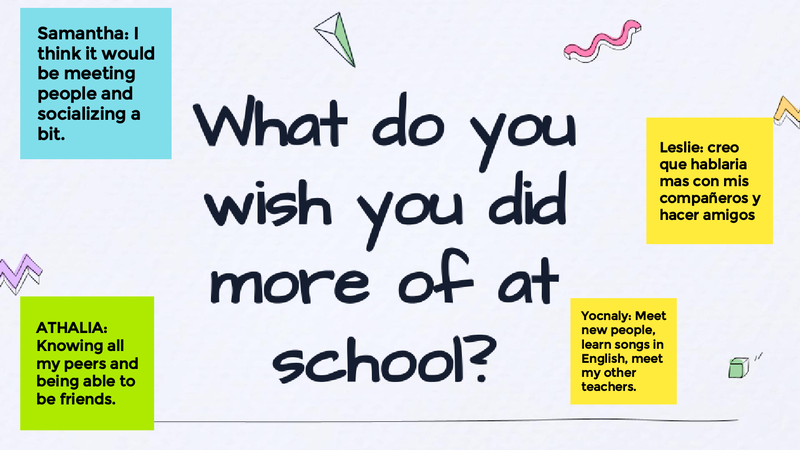
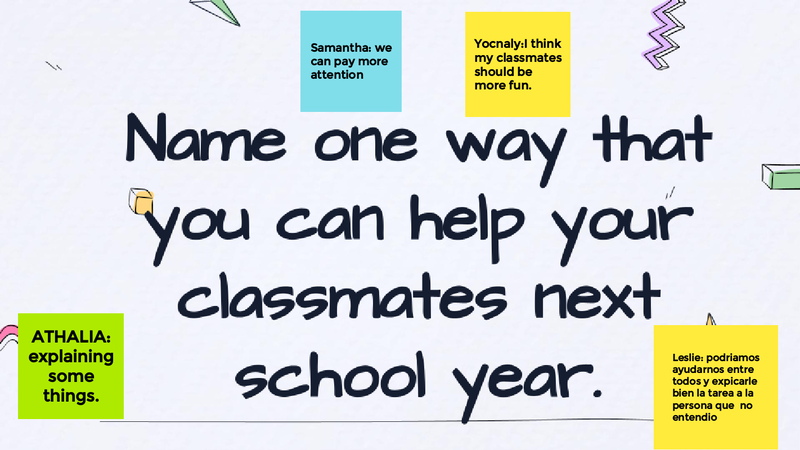
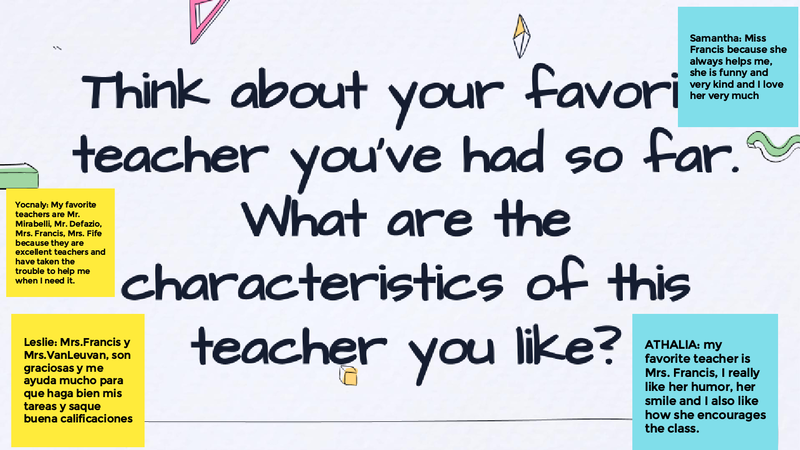
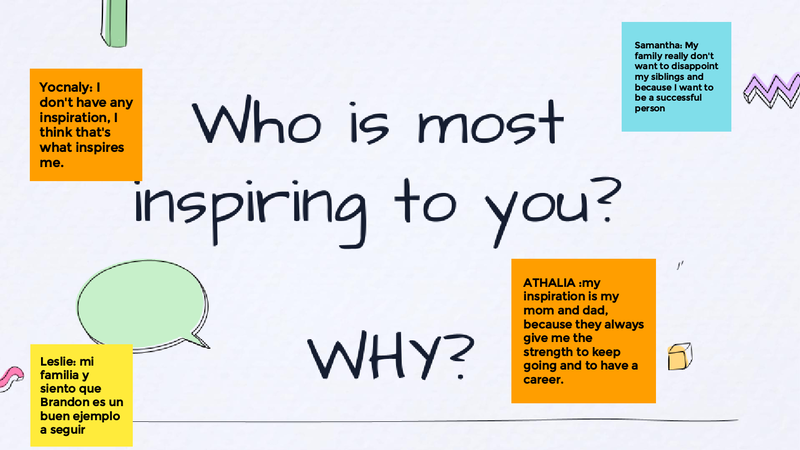
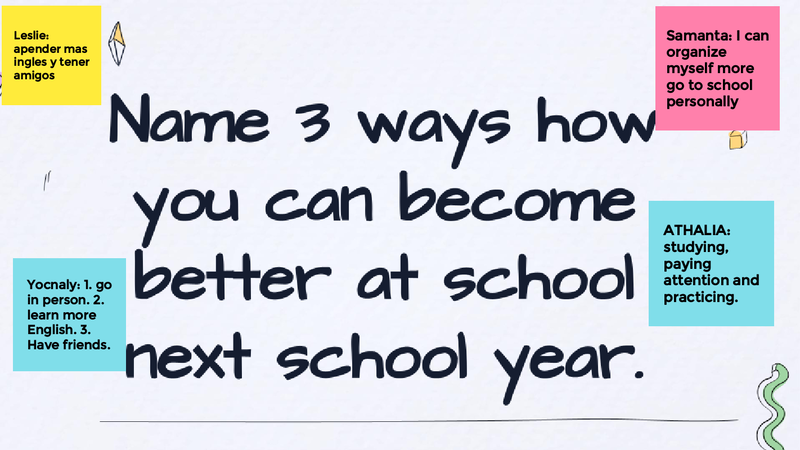
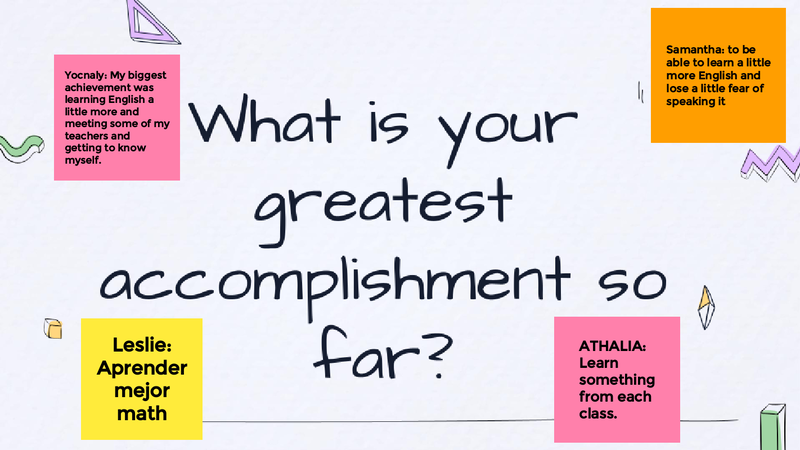
I created a google slides presentation so it'd look presentable and colorful. Each slide had a question in big font to emphasize its importance. You can access the slides below!
Two reasons why google slides are useful with this activity:
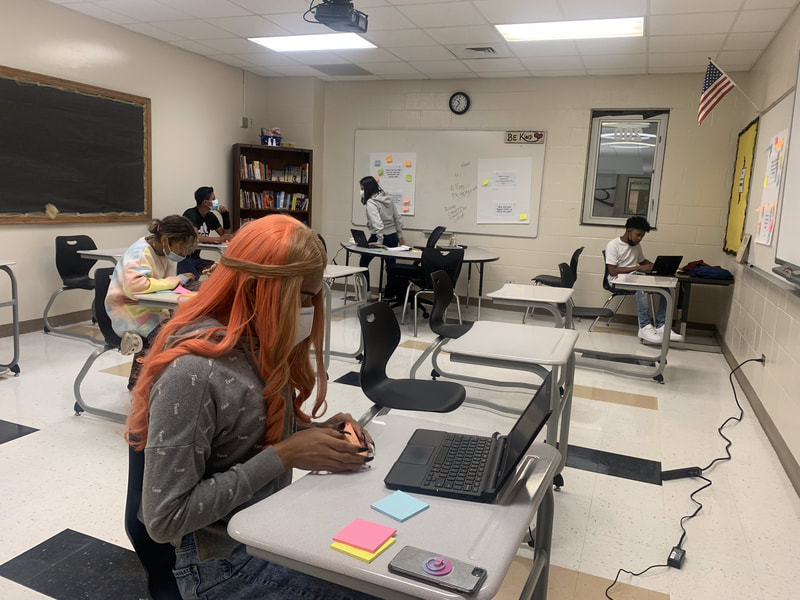
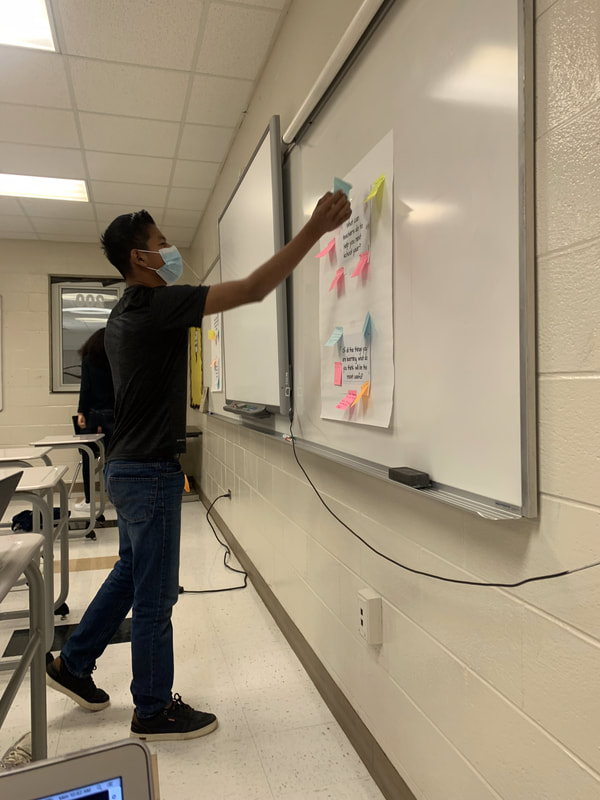
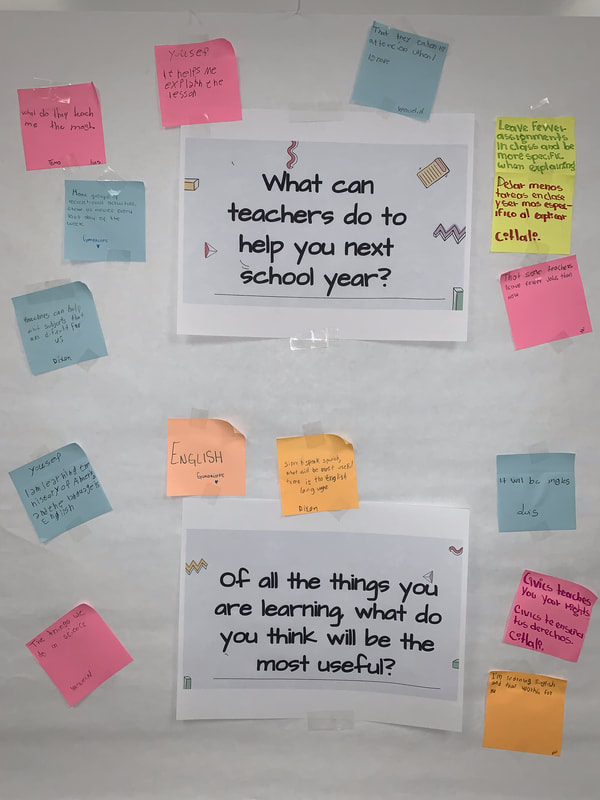
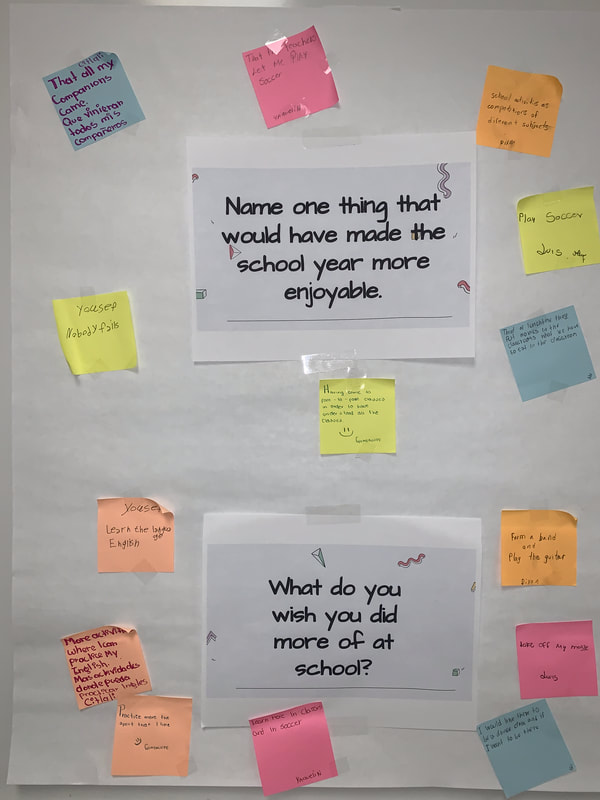
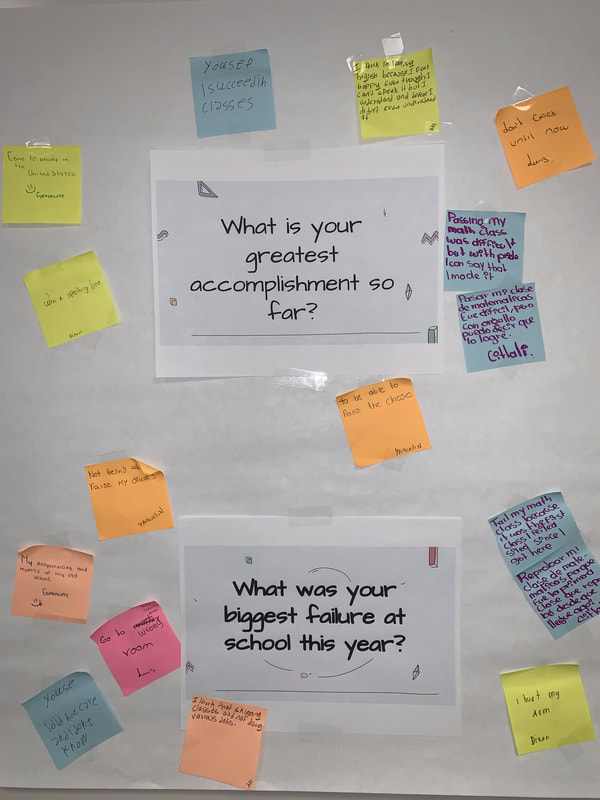
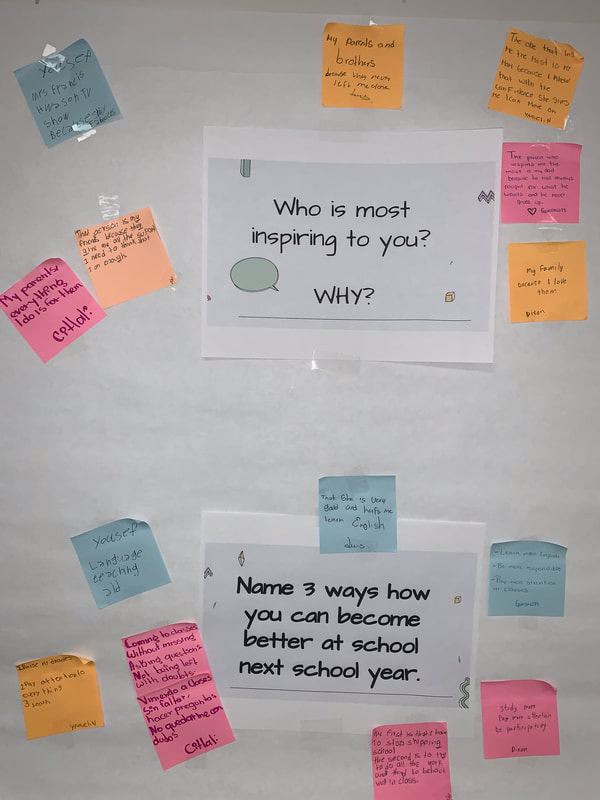
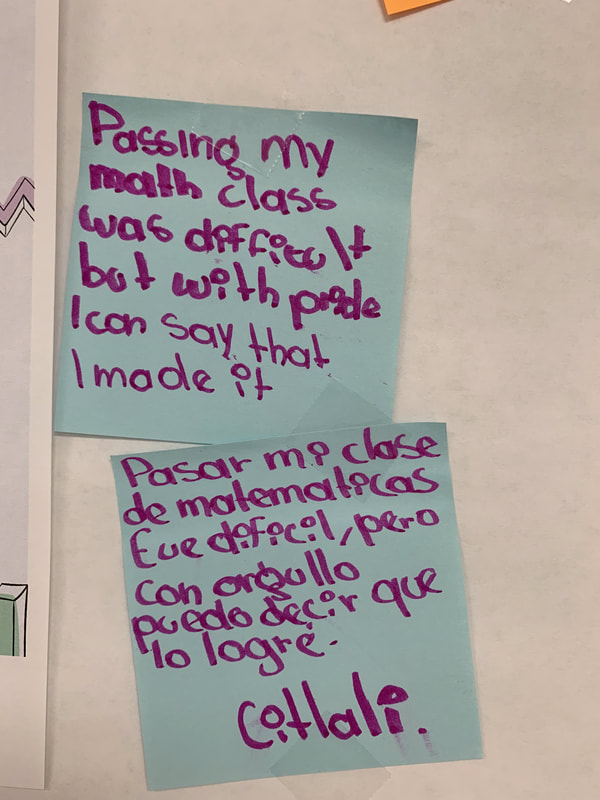
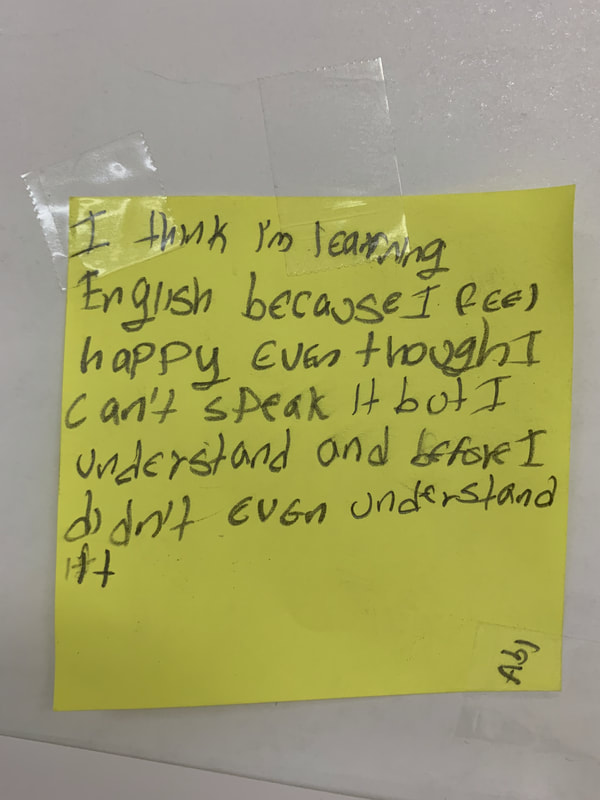
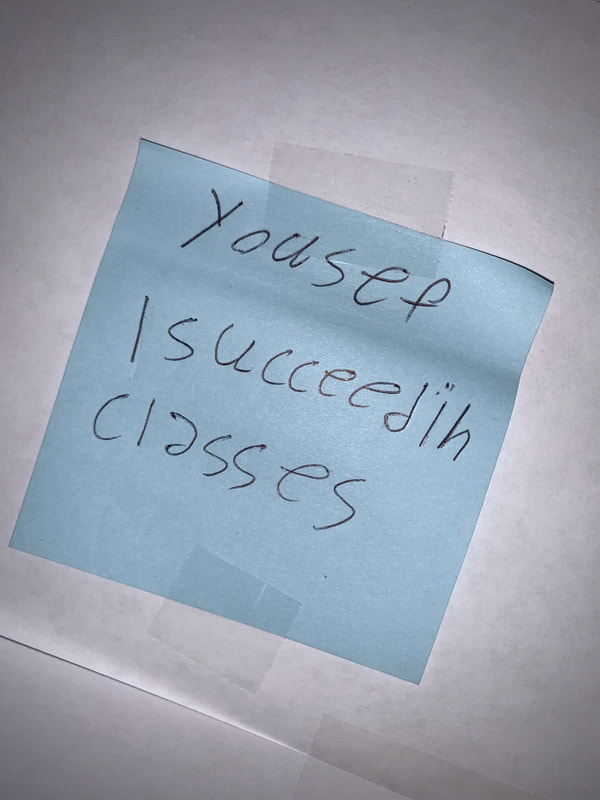
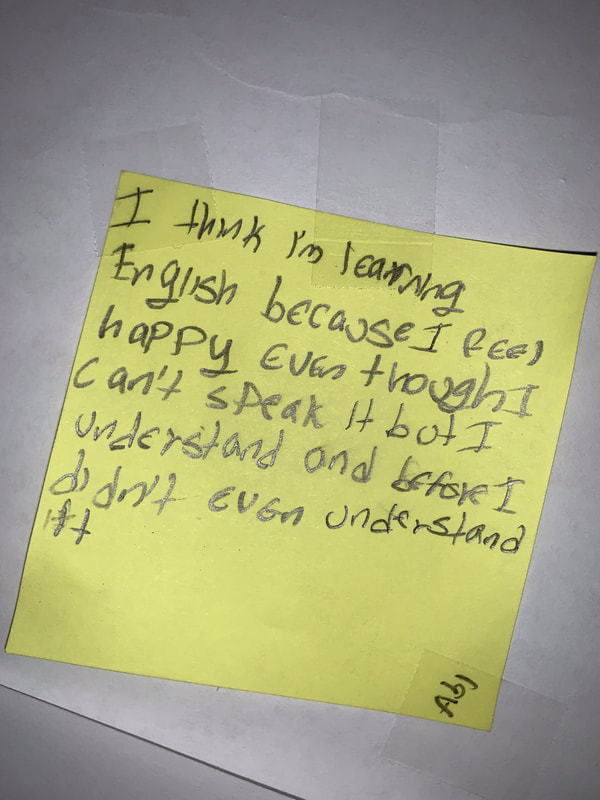
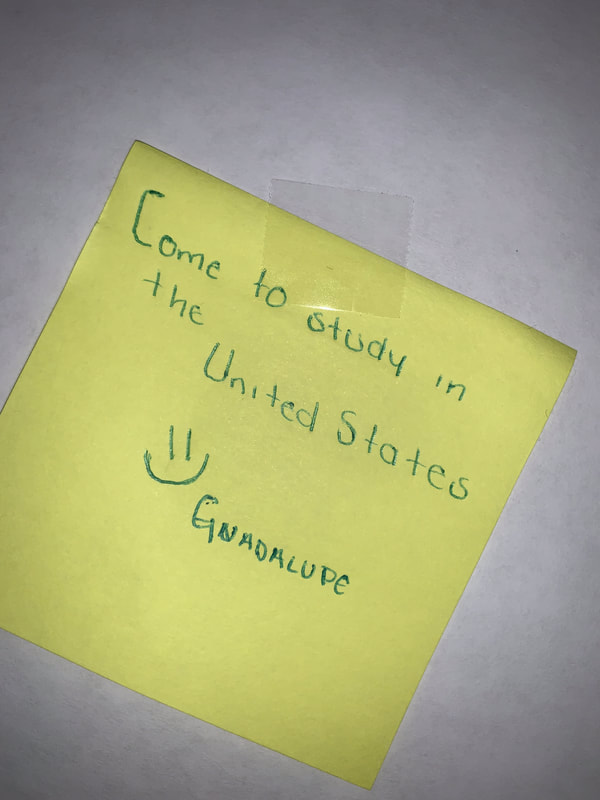
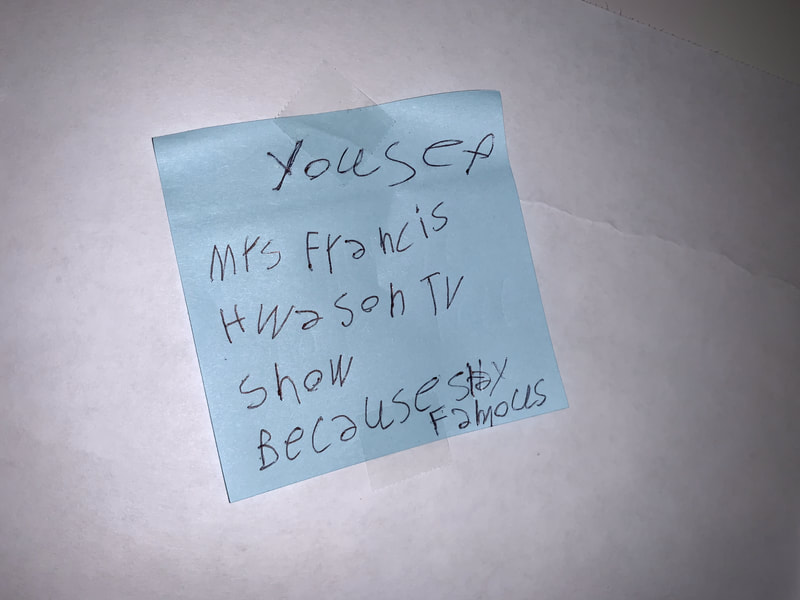
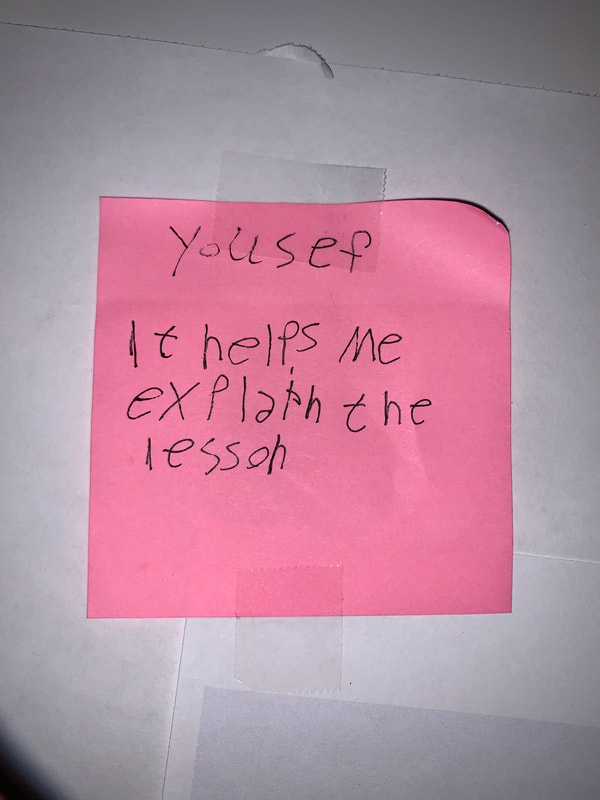
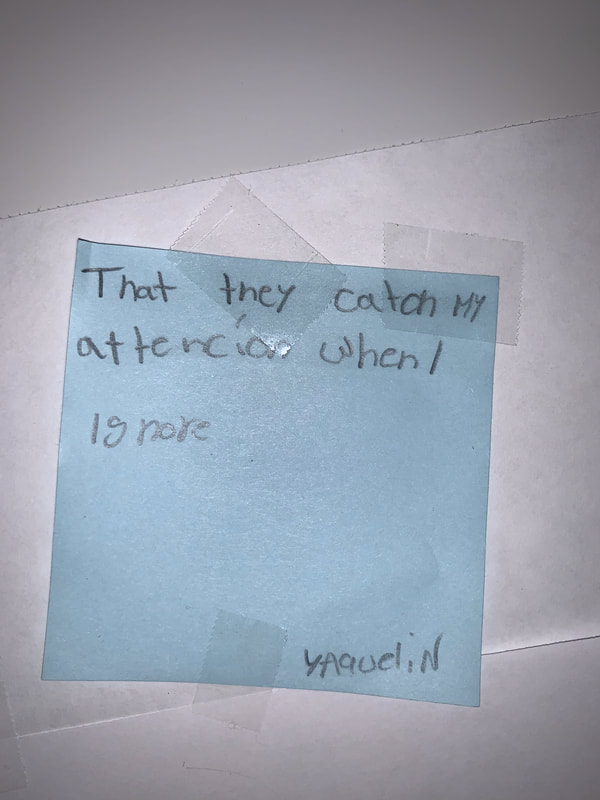
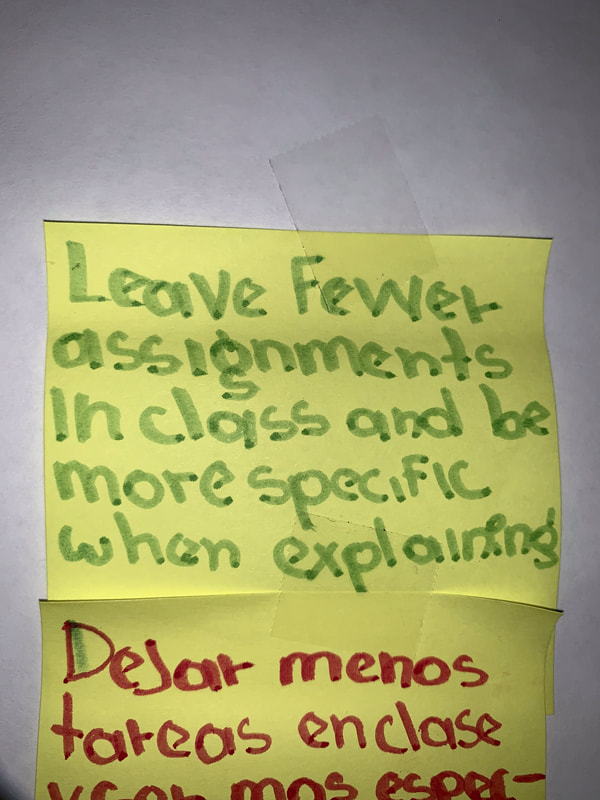
My face-to-face students received colorful sticky-note pads to answer each question.They placed their answers on a chart paper that had all the questions. My virtual students received a link to a Jamboard where they answered on a sticky note for each question. Here is the Jamboard if you'd like to make a copy and use it with your students.
Students were all engaged. Not only were the questions open-ended so they could share their thoughts openly, but it created a stress-free time for students to share their voices.
Several of their answers will serve to make some adjustments as the support they need for the next school year. A great educator should ALWAYS make room for improvements - especially when students are giving feedback. I also learned a few new things about each student - especially the two newcomers who had only been with us for a week or two. The activity outcome made me happy. I almost cried when I saw a few of them mentioning me in their answers. Needless to say, we wrapped our last day with a group picture and selfies. See pictures HERE. What feels like the end
Thank you for reading!
0 Comments
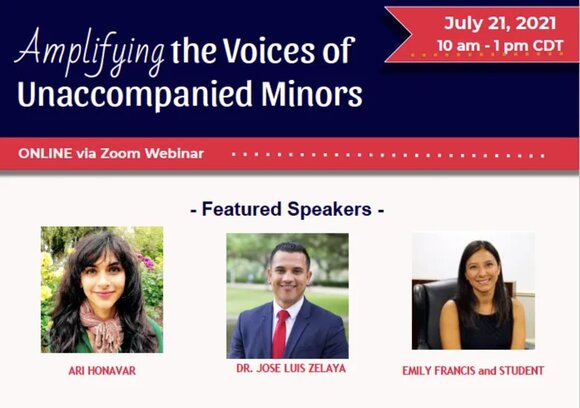
Amplifying the Voices of Unaccompanied Minors Virtual ConferenceWhen & Where: July 21, 2021 10:00 am – 1:00 pm CDT Zoom Conference What it is: Amplifying the Voices of Unaccompanied Minors is an opportunity for teachers and school leaders to hear from those who have lived the experience as an unaccompanied minor in the American school system. To register - Click HERE
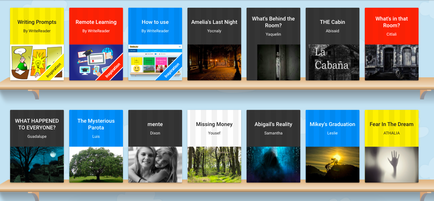
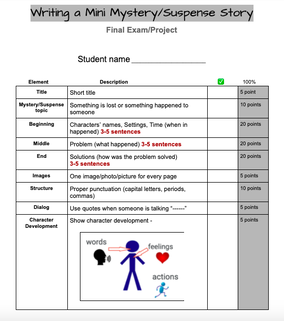
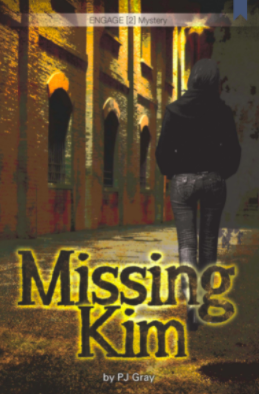
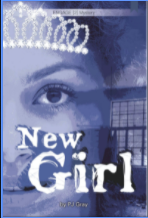
As our newcomers' course comes to an end, I began thinking of ways to make time and space for students to demonstrate their full potential. One way students, regardless of their English proficiency, can be by creating something to demonstrate their ability to put together all the skills and elements we've learned for several weeks. When I think about students creating something, the first resource & platform that comes to mind is WriteReader. I've used WriteReader for years. I've used it with elementary students and now with high school students. It's a student-friendly platform and easy to use for teachers. Once you create your teacher account, you add students to your class list. So, as a culminating course project, my newcomers were to write their own mystery/suspense story after reading a couple of stories from Saddleback - To read about the lessons that lead to this final project. You can read blog post #1 HERE and blog post #2 HERE. Lesson #3 - End-of-Course ProjectThe idea for this project was to provide an opportunity for students to show understanding of the story elements we had learned over several lessons. Elements such as characters, settings, problems, solutions, character development, and plot. These elements may seem like a simple list for students to learn, but the key here is to use the elements in English. To be able to understand and respond using the English language. I didn't want to overwhelm my students with so many instructions and/or rubrics for this project; though I believe a rubric would've been great to hold them accountable with all the required elements. Instead, I gave students a list of elements to include in their story. All the elements listed were items we had analyzed in previously read stories, so I knew they would have not struggled to understand and following the list. Click HERE for a copy of the elements checklist for students' story Each student received a copy of the checklist to use as self-check for what they needed to include in their story. I showed students my own suspense story and highlighted every element in the checklist. Because the platform is student-friendly, it didn't take long to show them and explain how to create their book. Several students shared their excitement to invent their own stories. Some talked about writing a suspense story based on a personal event. I thought this idea was fantastic. Using funds of knowledge is a great thing in our classrooms. It's just what we want our students to do - to use background and personal experiences to demonstrate their full potential. Publishing Our Stories: It didn't take long for students to begin writing their stories. I even had a student complete her story in 24 hours! The day our project was due, I read aloud each story. As I finished reading each of their stories, I complimented them and praised them for their hard work. We went through each student's checklist to ensure they had all the required elements. It was so much fun reading their stories. If you'd like to read their mystery/suspense stories, please do so and share your thoughts. Yocnaly's story: Amelia's Last Night Yaquelin: What's Behind that Door Abi: The Cabin Citlali: What's in that Room Guadalupe: What Happened to Everyone Luis: The Mysterious Parota Dixon: Mente Yousef: Missing Money Samantha: Abigail's Reality Leslie: Mikey's Graduation Athalia: Fear in the Dream Students were encouraged to use an electronic translator or write in their home language. As I read each story, I provided feedback edit ideas. All students published their work in English. I even had a couple of students whose stories were so long - They shared with me how excited they were about publishing their own stories and that once they started writing, they couldn't stop.
It was amazing to see how into writing they all were. Even my virtual students were super engaged! I appreciate platforms like WriteReader that allow students to discover their love for reading and writing. I also love having books like Saddleback books that not only helped developed my students' reading skills. Have you used any of these resources? If so, share with me how you've used it. I'd love to add tools to my toolbox. I cannot wait to show these books to my students next school year. I'm so proud of their hard work. Thank you for reading! I was thrilled to see how well our newcomers did while learning character development. But more so, I was excited to hear how much they enjoyed reading the stories and how well they understood them. I have so much faith in the hard work Saddleback puts into each and every book that makes it to our classrooms. I enjoy using these books to teach our newcomers. This blog post is a continuation of a previous post - to read about lesson #1, click HERE. Lesson #2
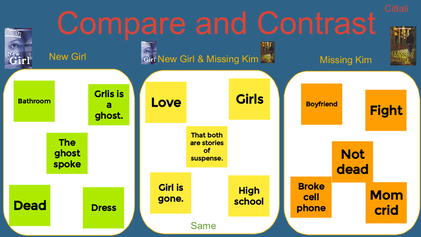
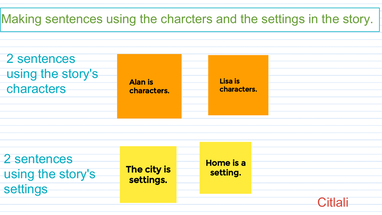
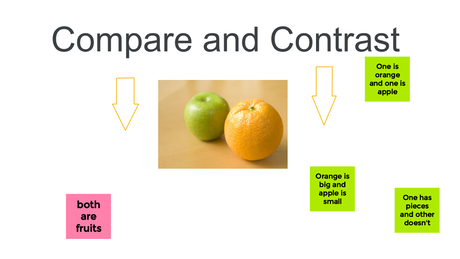
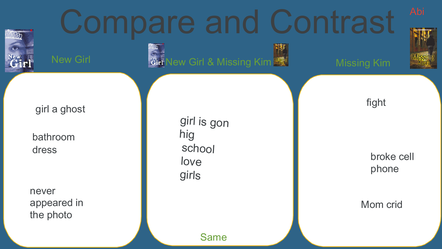
After our prediction, I read the story out loud while students followed along and tracking the text. There were some comprehension checks while reading just to make sure students were following along. After reading the story we identified a list of characters and settings and used this list to create complete sentences - Our sentences were simple but they were able to create them themselves and read aloud on their own. See Jamboard slides 7-11 to see students' independent work. Comparing and contrasting stories: To teach the concept and the language of compare and contrast, I used this image of an orange and an apple. Students were able to tell me how these two items compare (similar/same) & how these items contrast (different/not the same) - It was a fun activity and students were engaged blurting out answers. Once students understood the concept of comparing and contrasting, we were ready to begin tackling our stories. I began by showing students the stories side by side just like the fruits in the example above and shared one similarity and one difference between the stories. We made sure that anything we added was found in the text and not just our inferences. Once I modeled, I let students help me out by sharing one more similarity and difference. This gave an idea of their understanding of the assignment. See students' independent work completed on pages 14th - 19th. To see the entire Jamboard, click HERE. This activity gave me a good idea of their text comprehension. By providing text evidence and placing them in the correct box, I can tell that comprehension took place therefore language acquisition happened too!
Be sure to check our next lesson when we create our own stories using the elements we learned in these two stories we read. If you have a different way to teach compare and contrast, please, share it in the comments. I'd love to learn from you and add tools to my toolbox. Click HERE to read Part 3 Thank you for reading! |
Categories
All
Archives
May 2024
|
||||||
